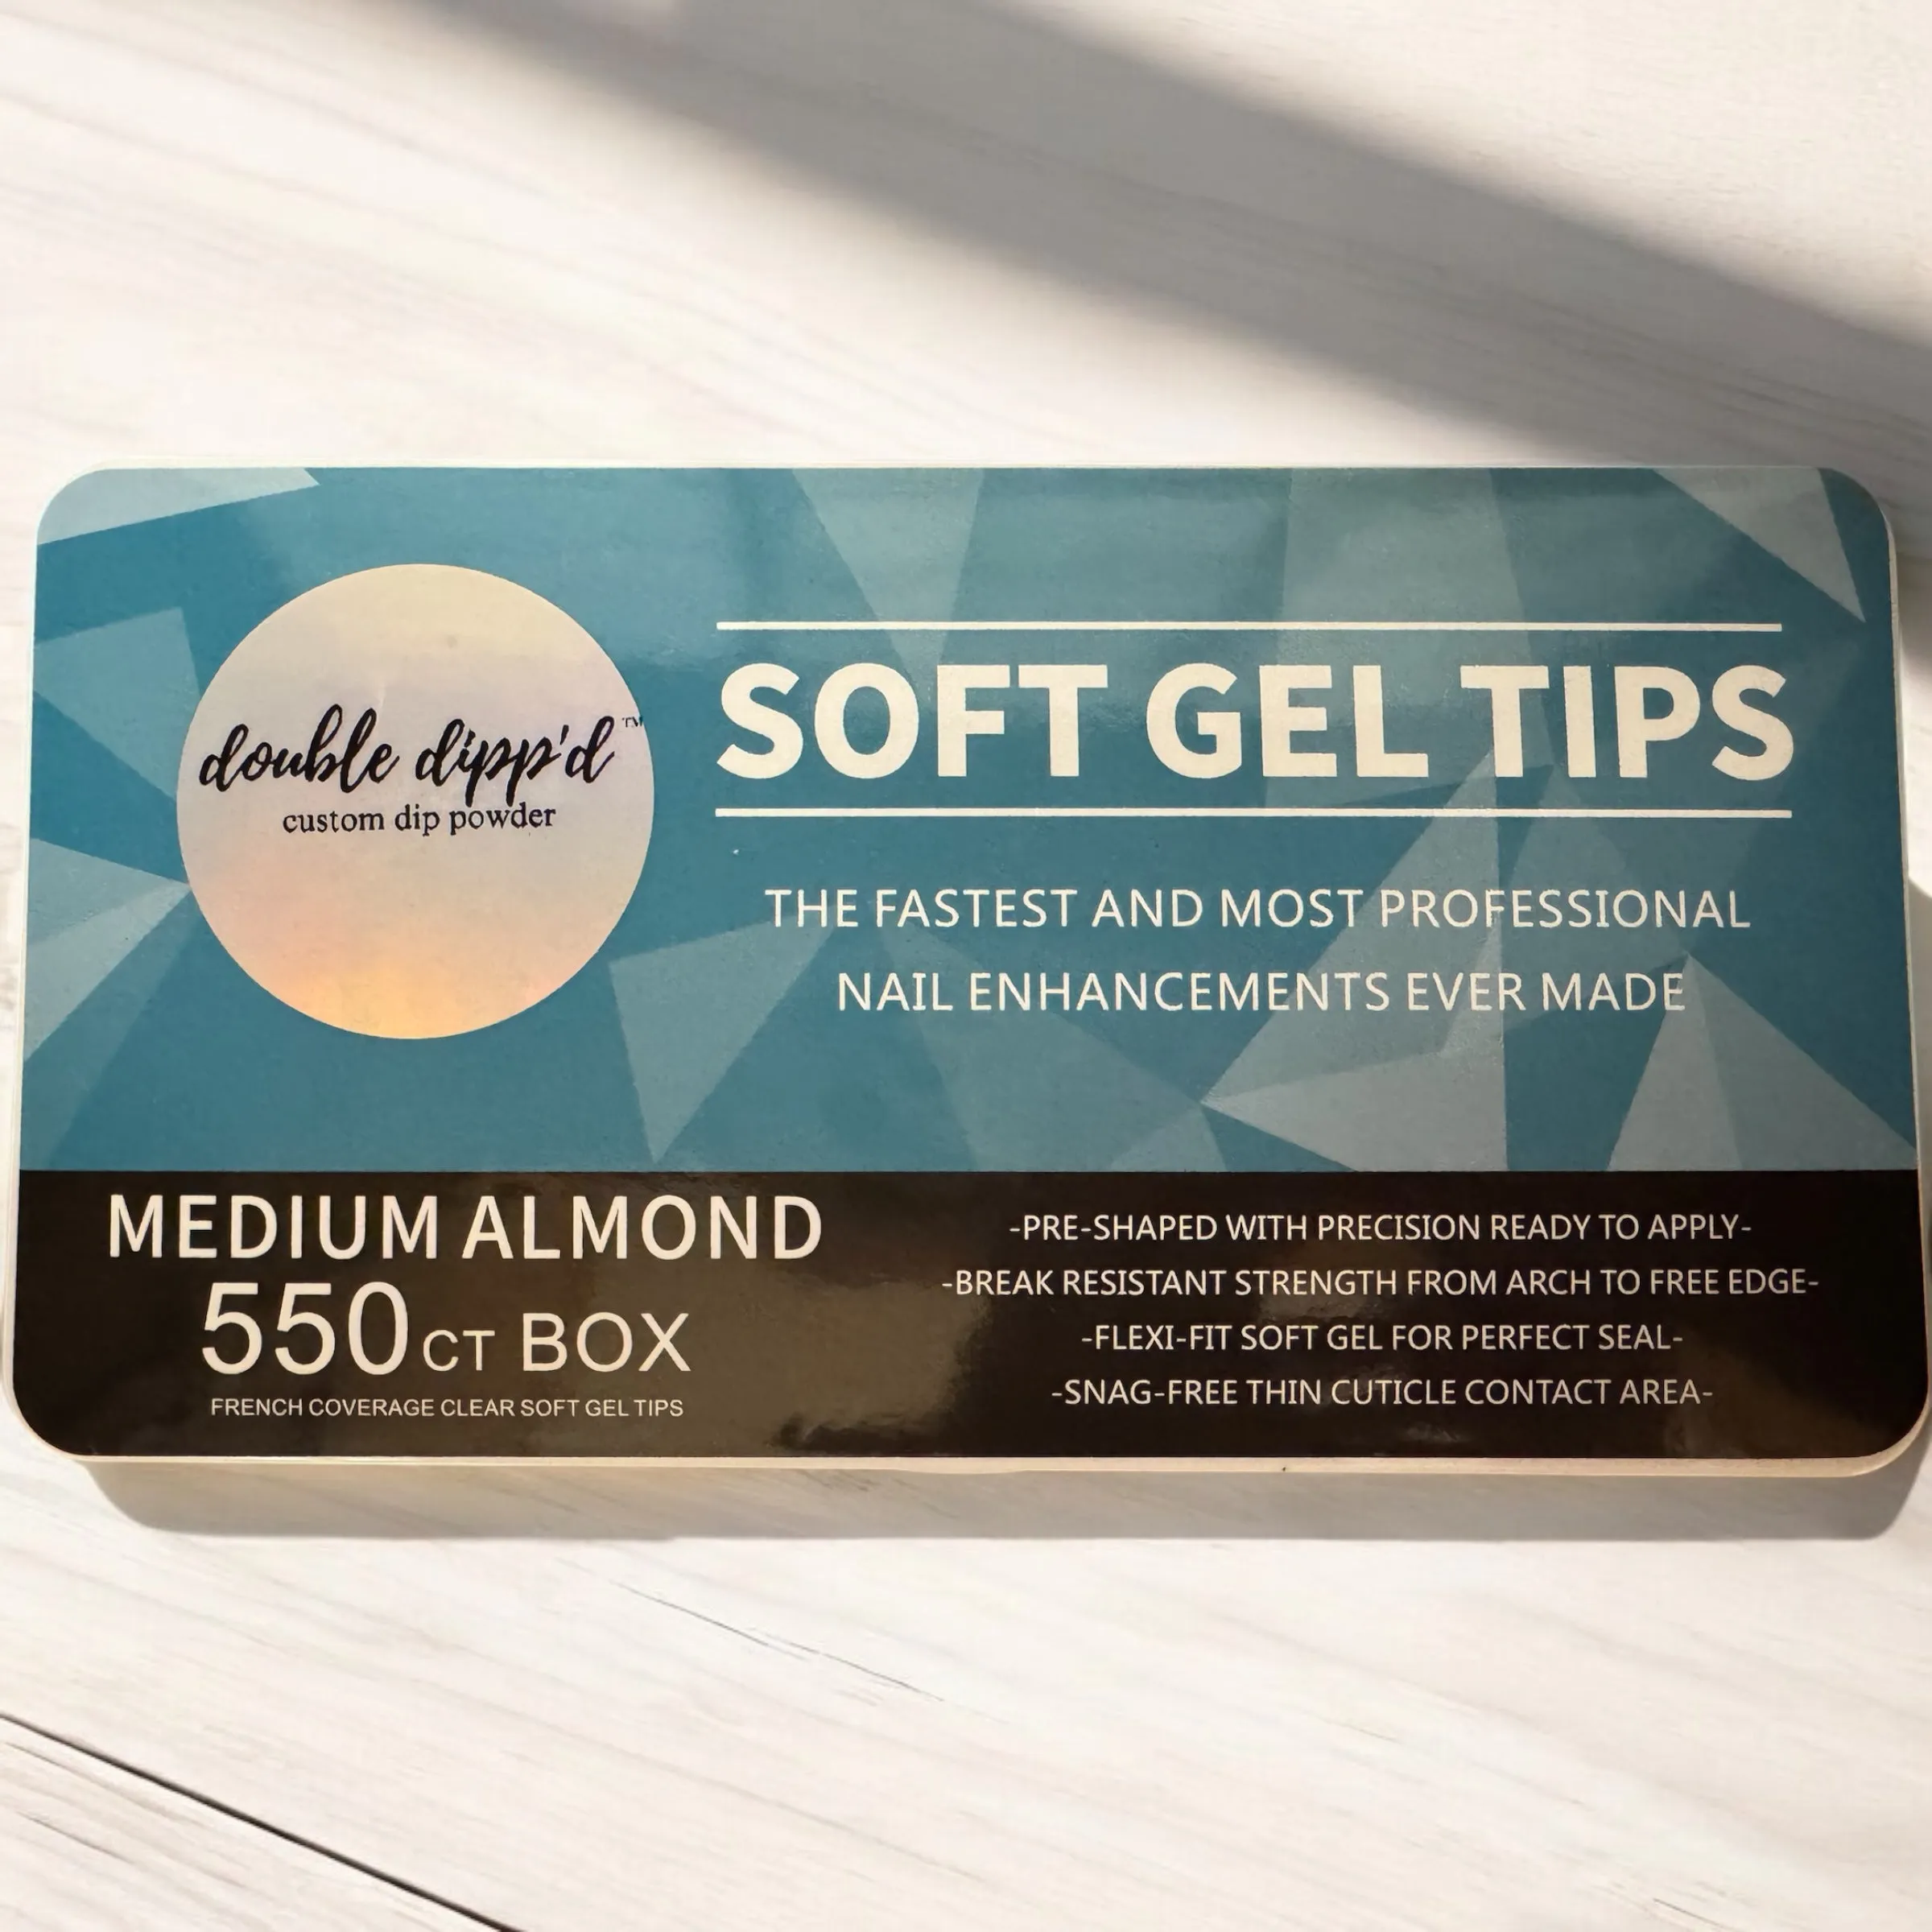
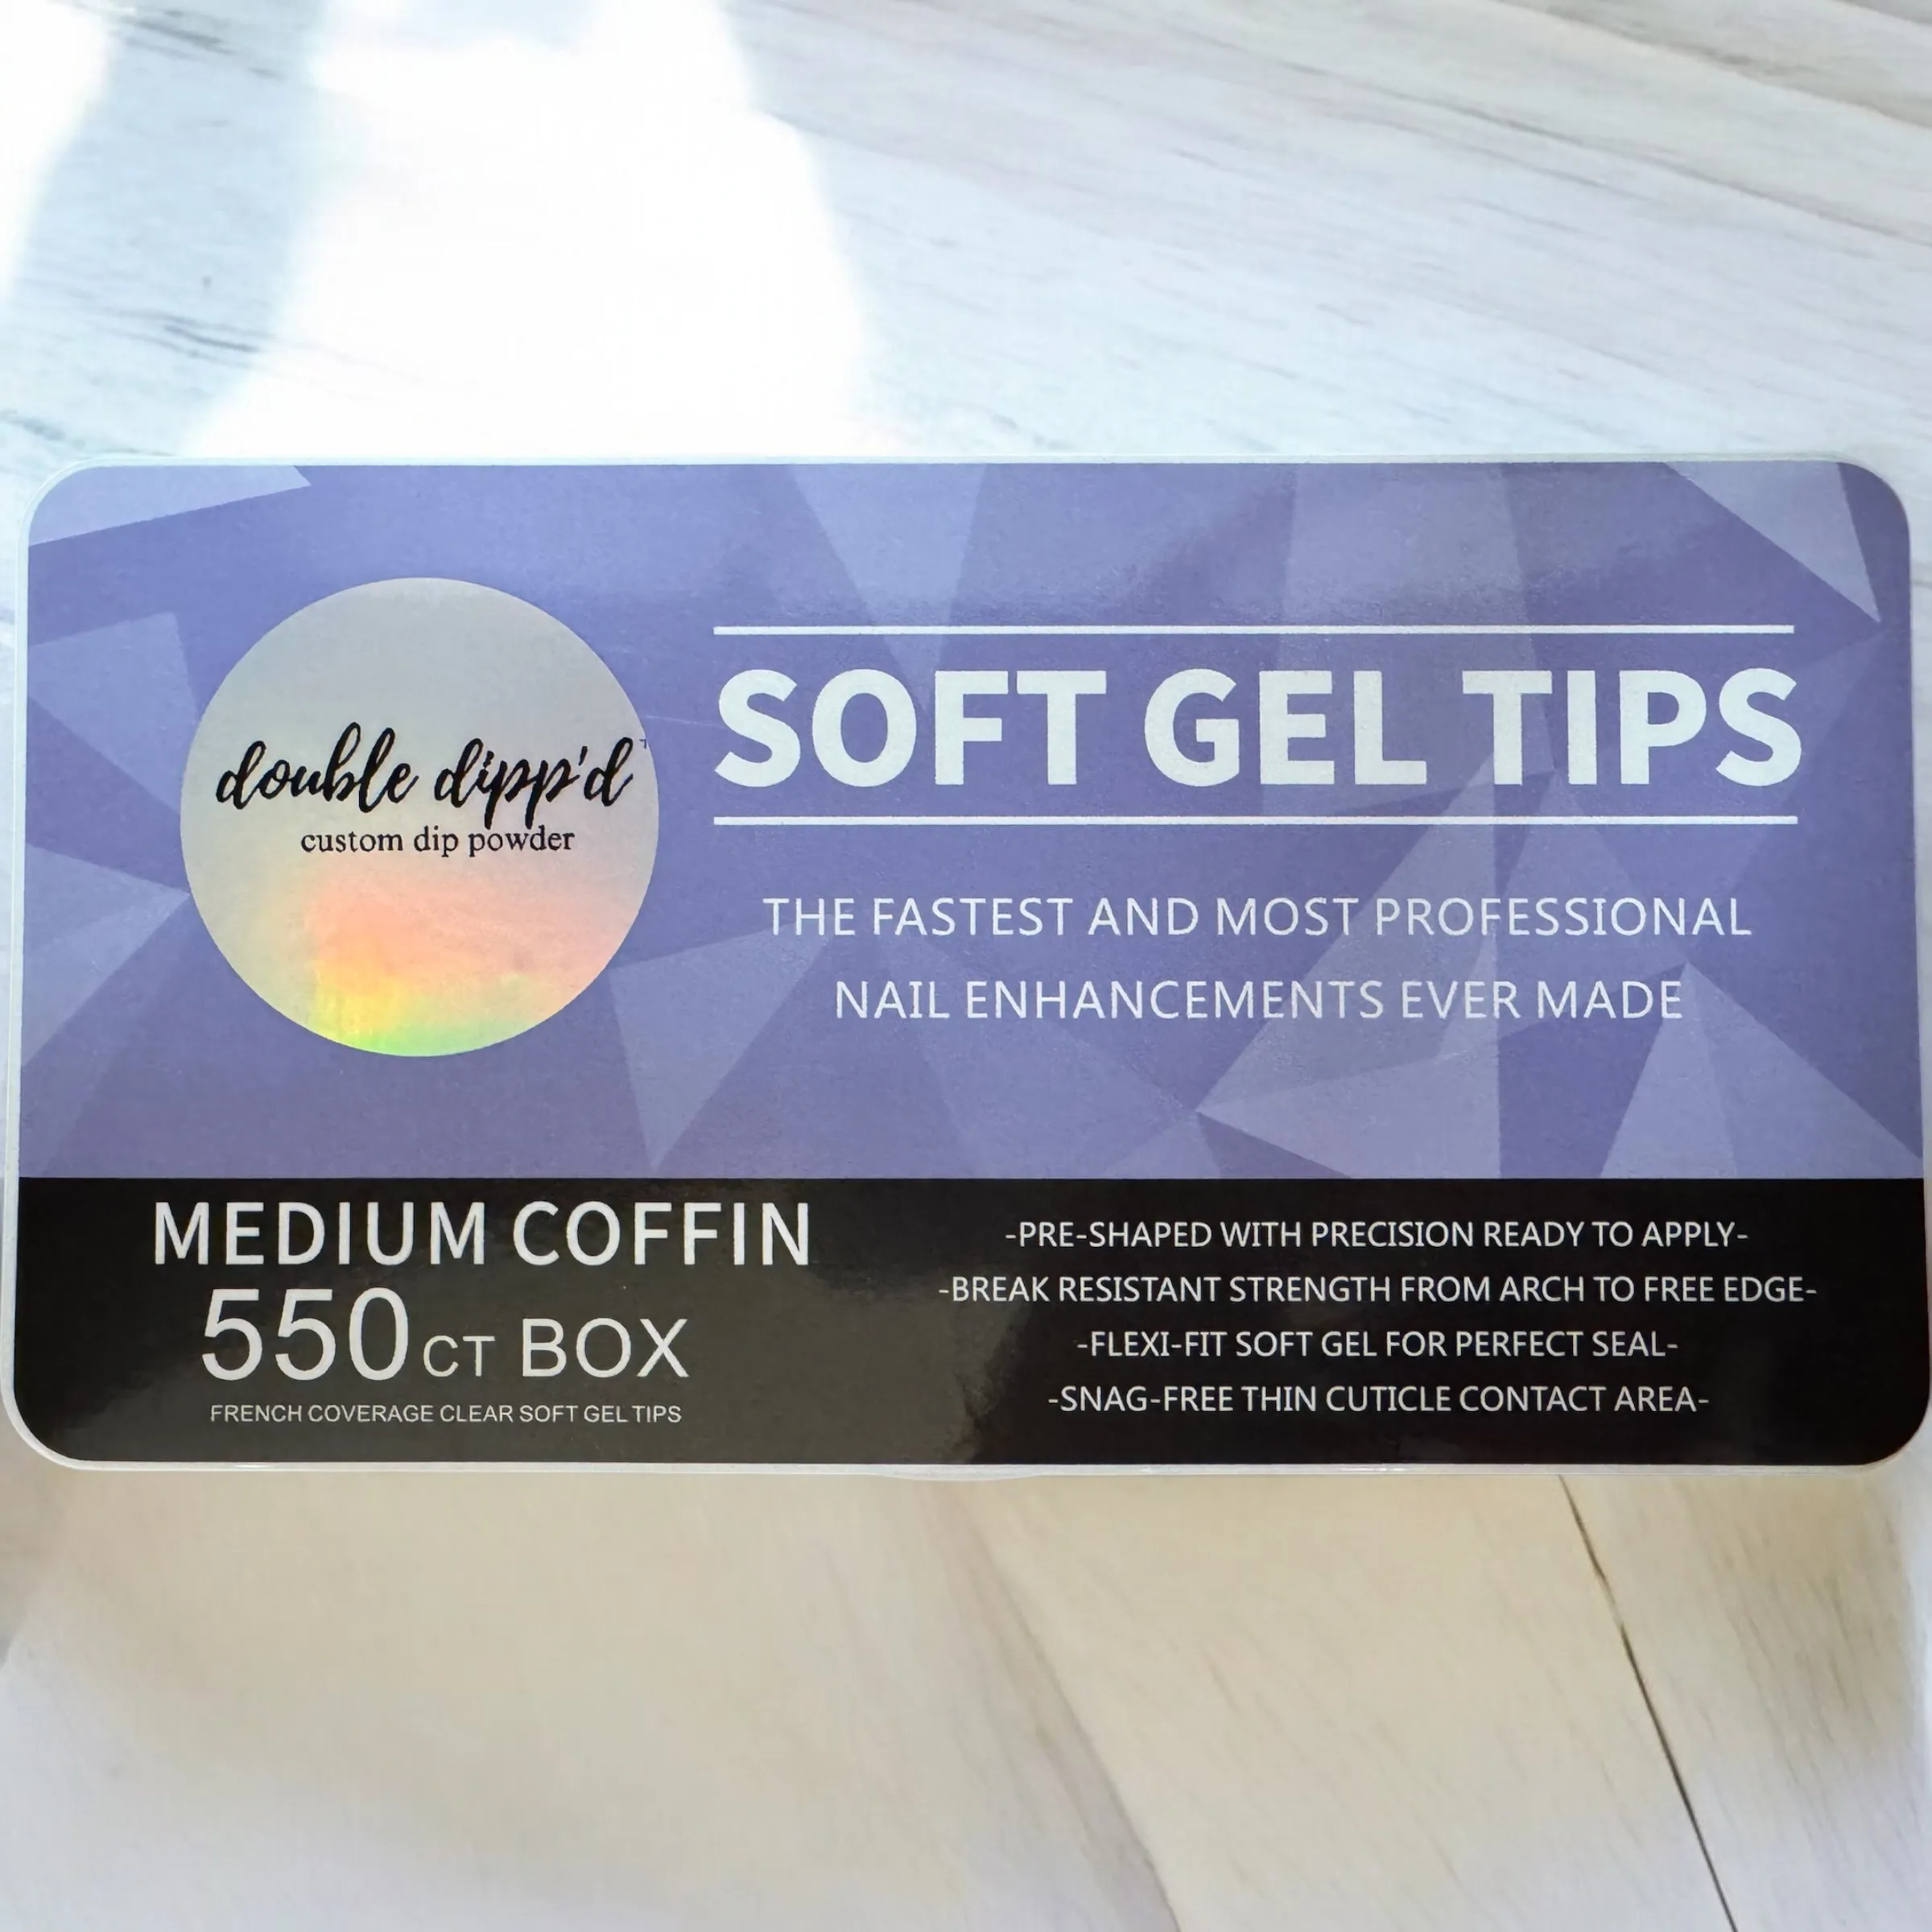
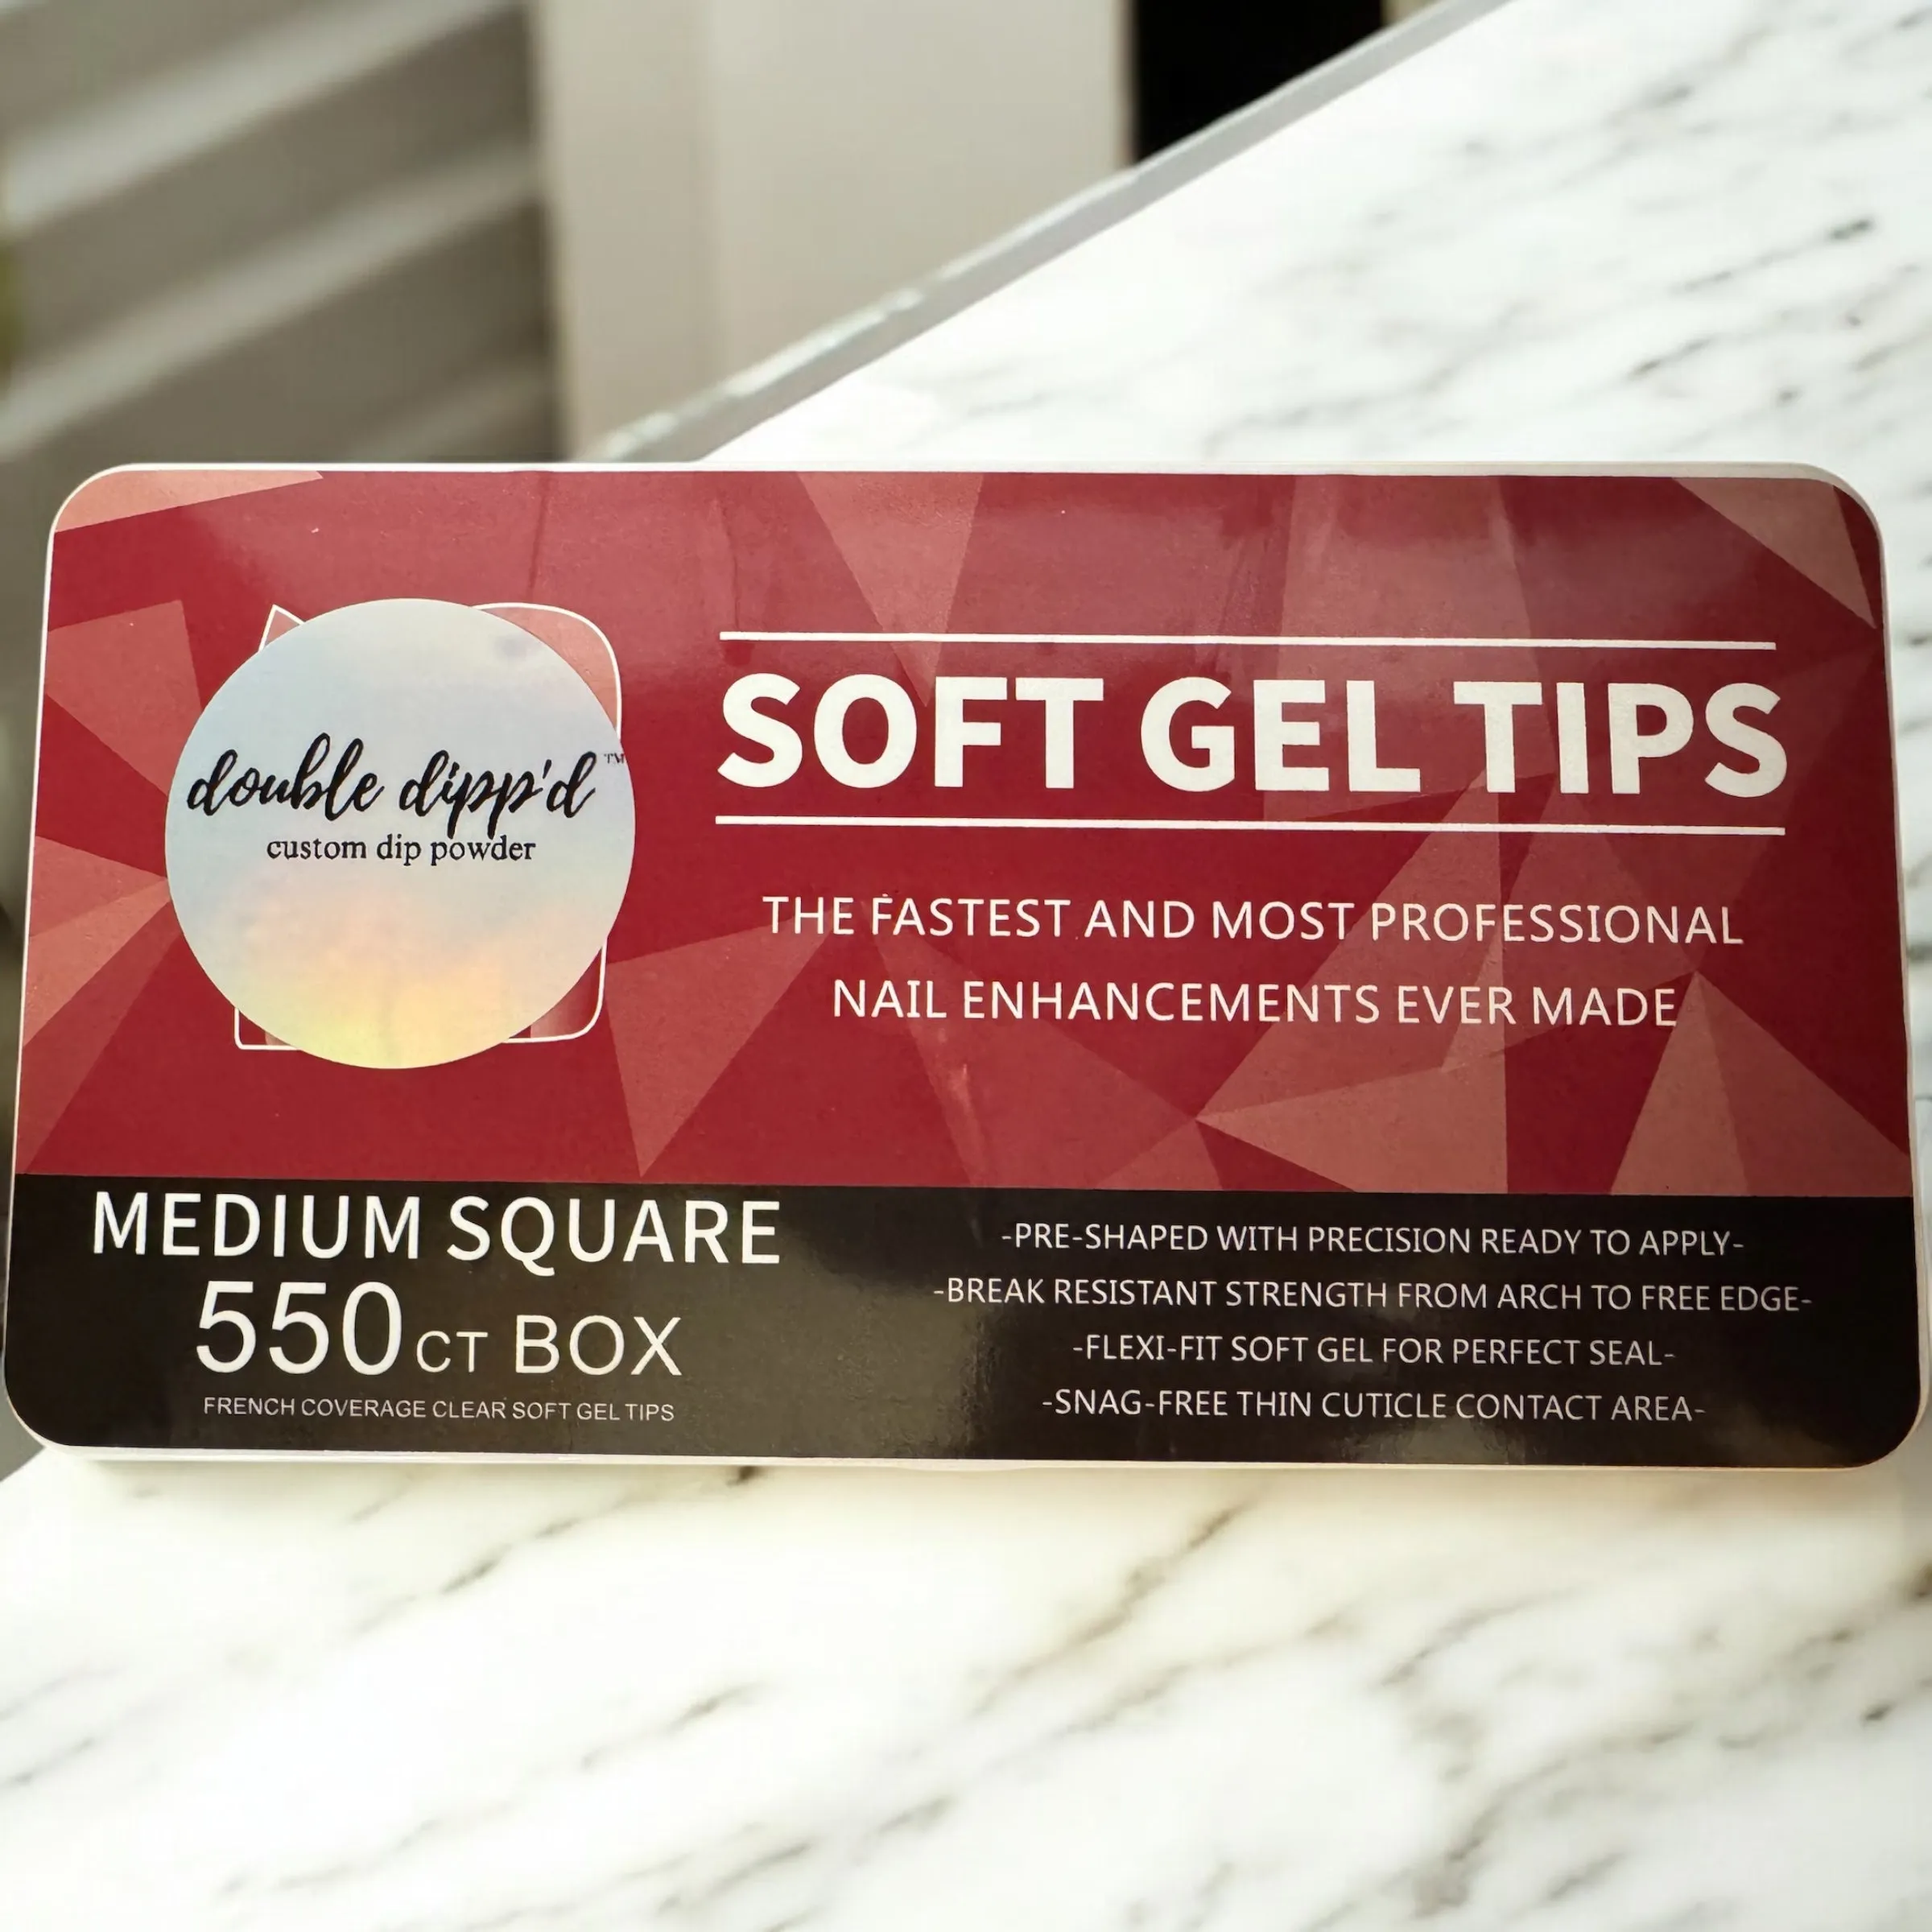
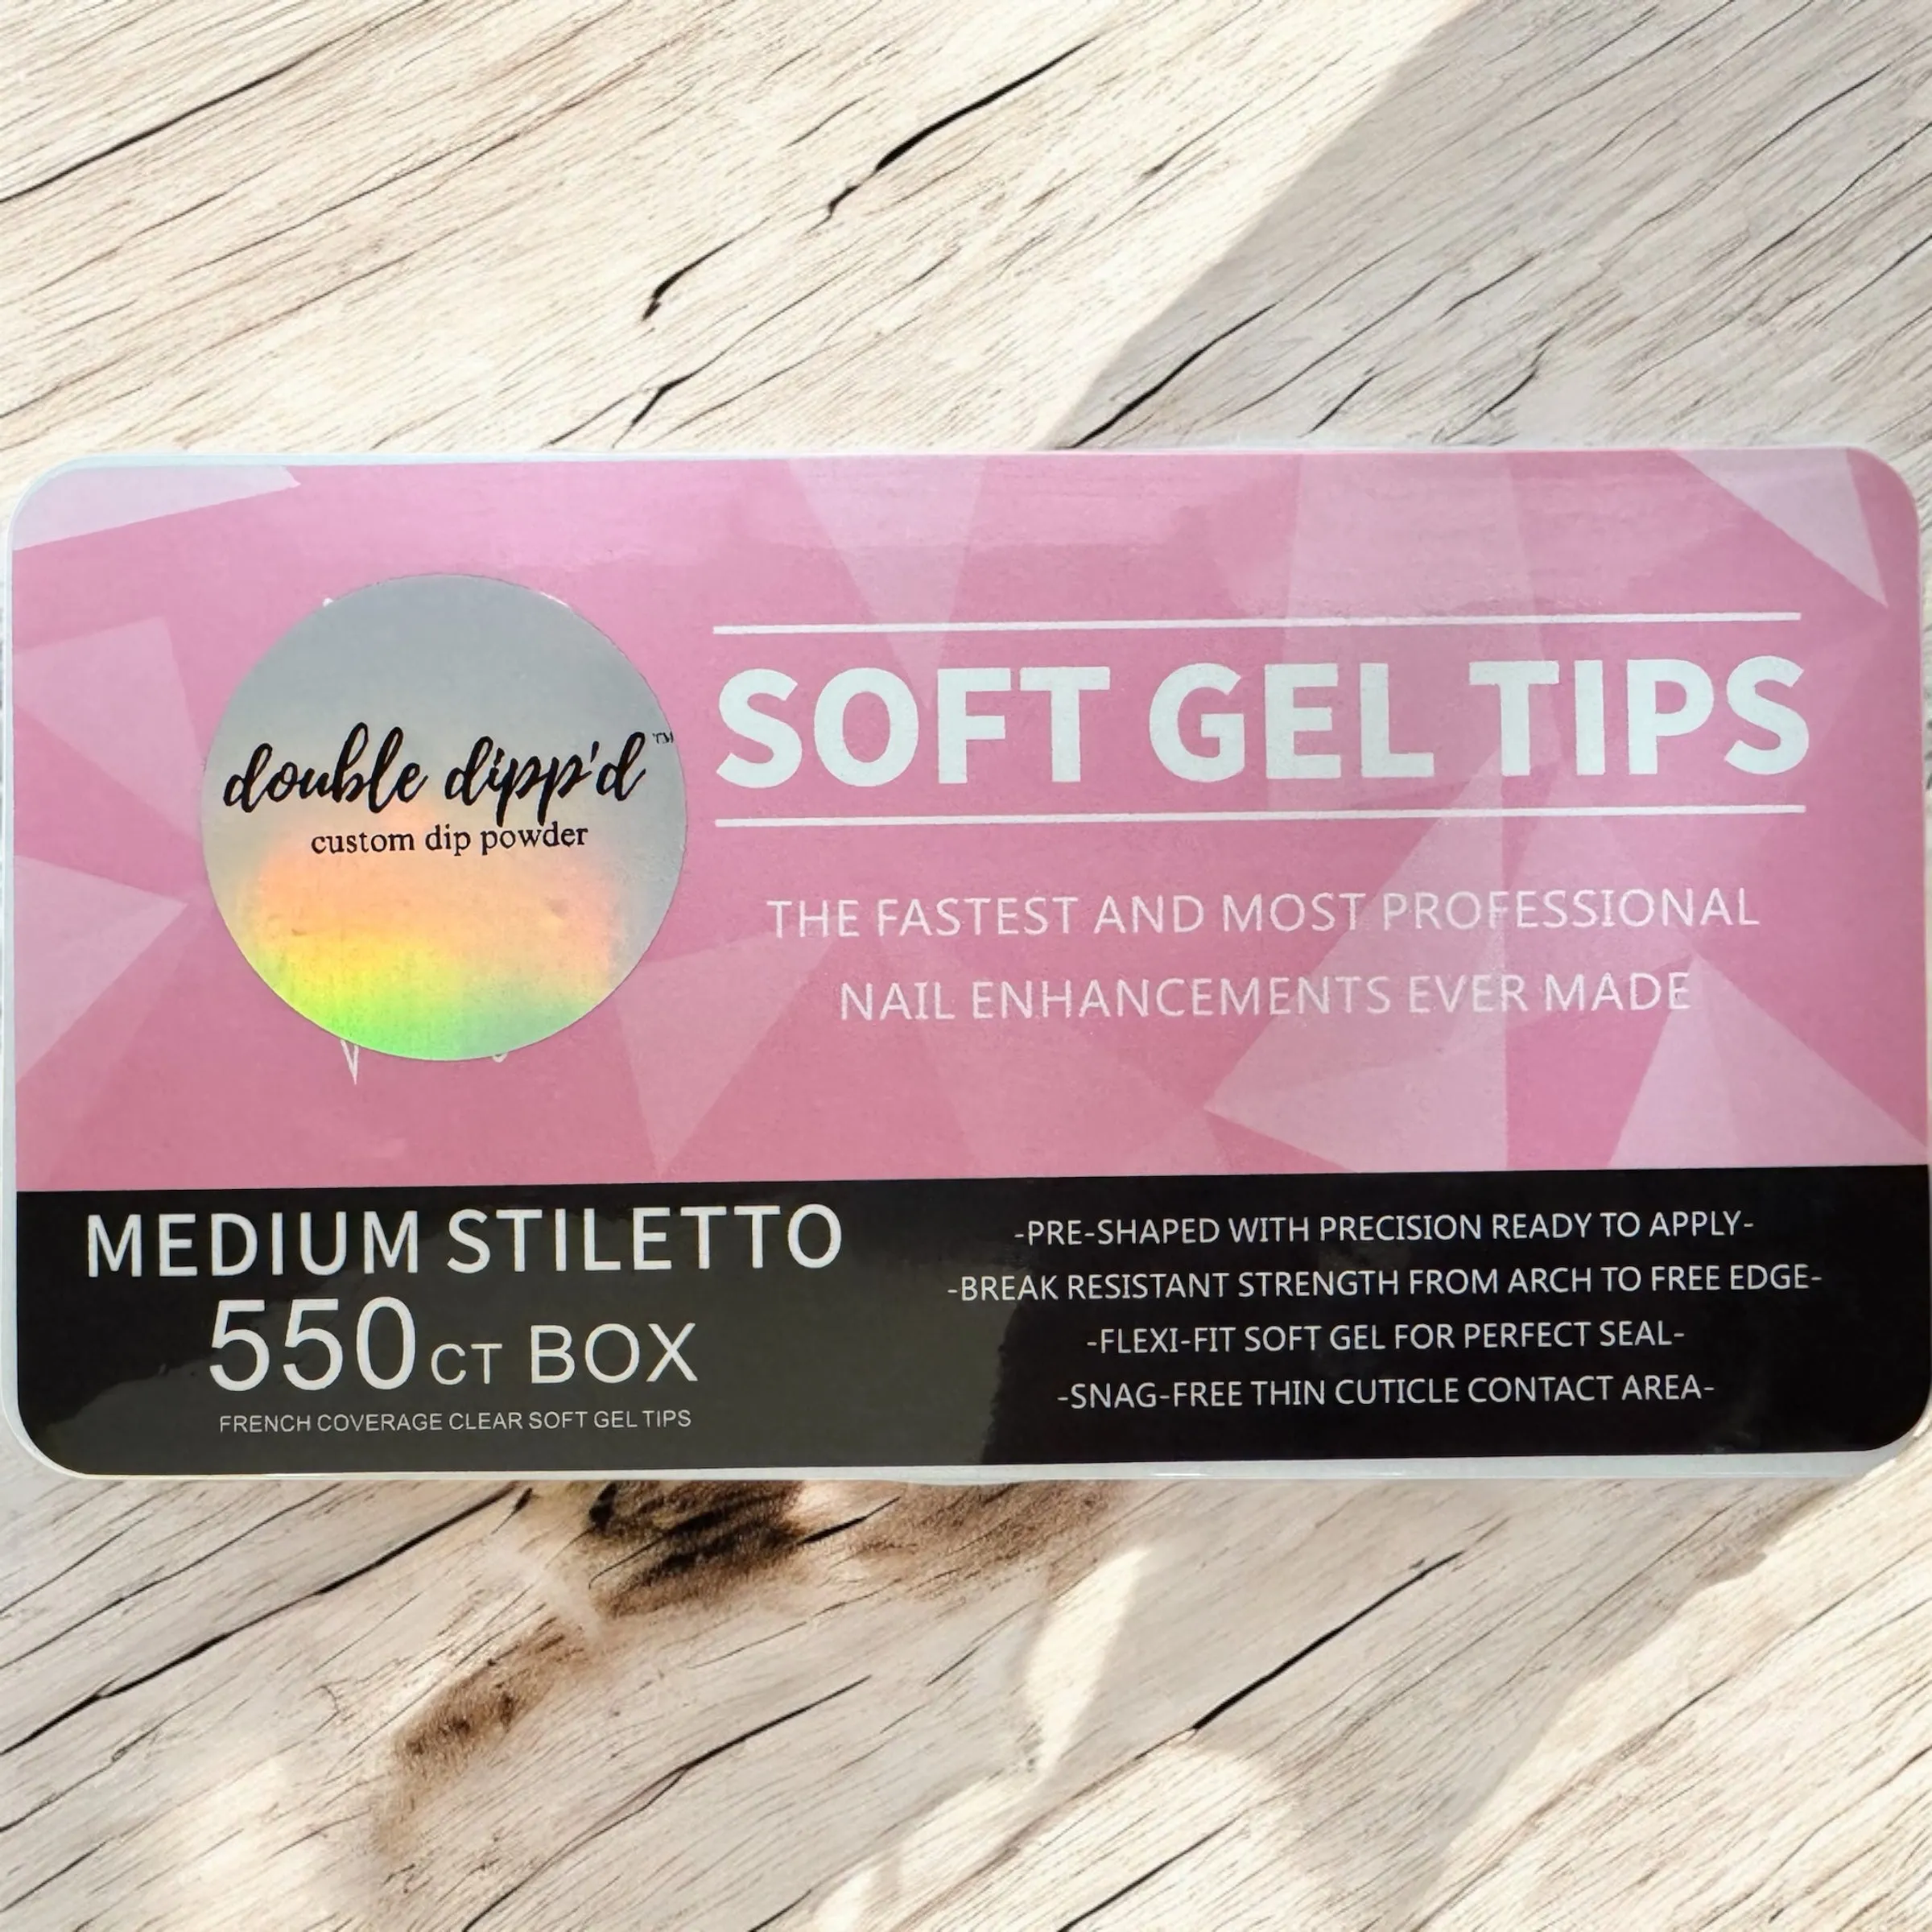

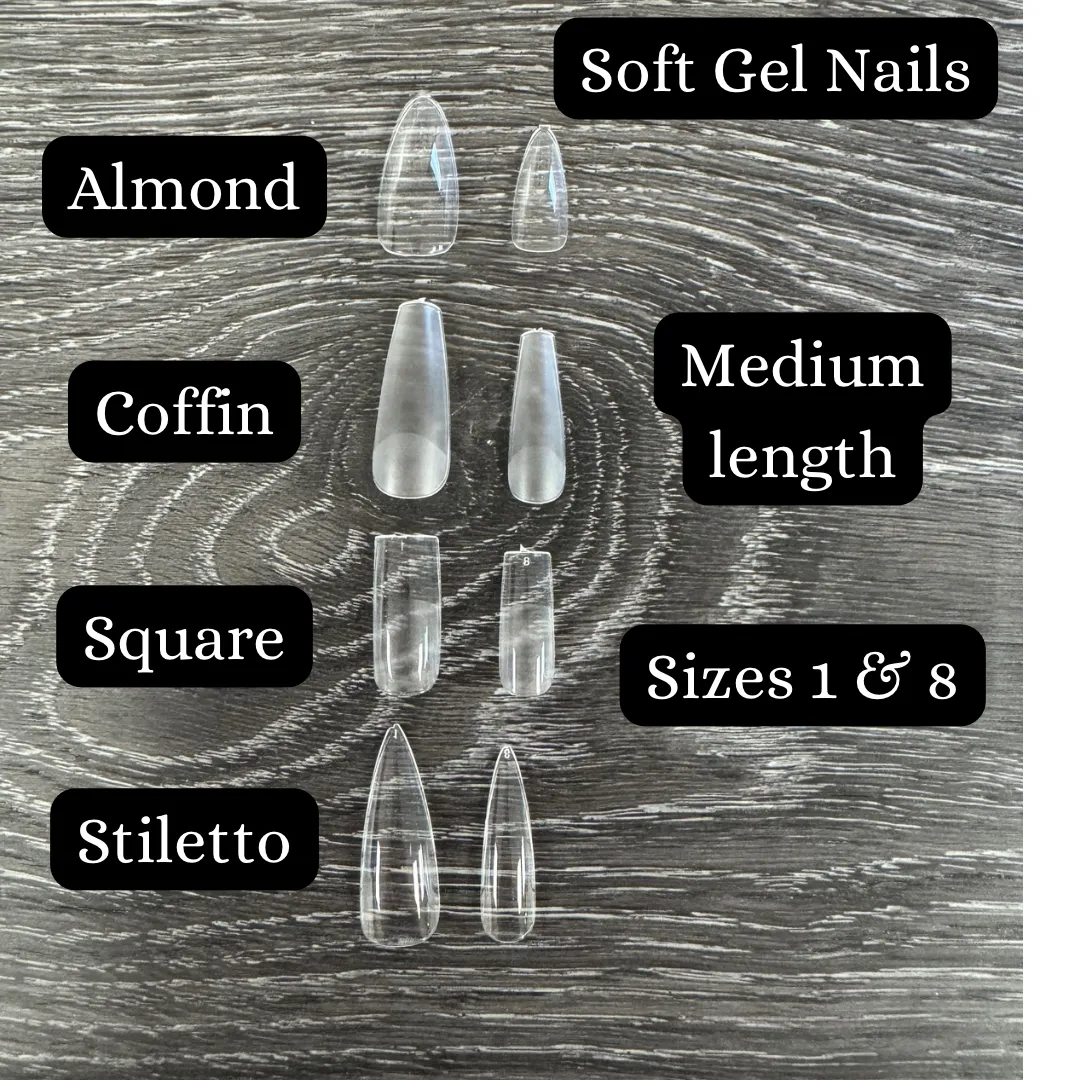
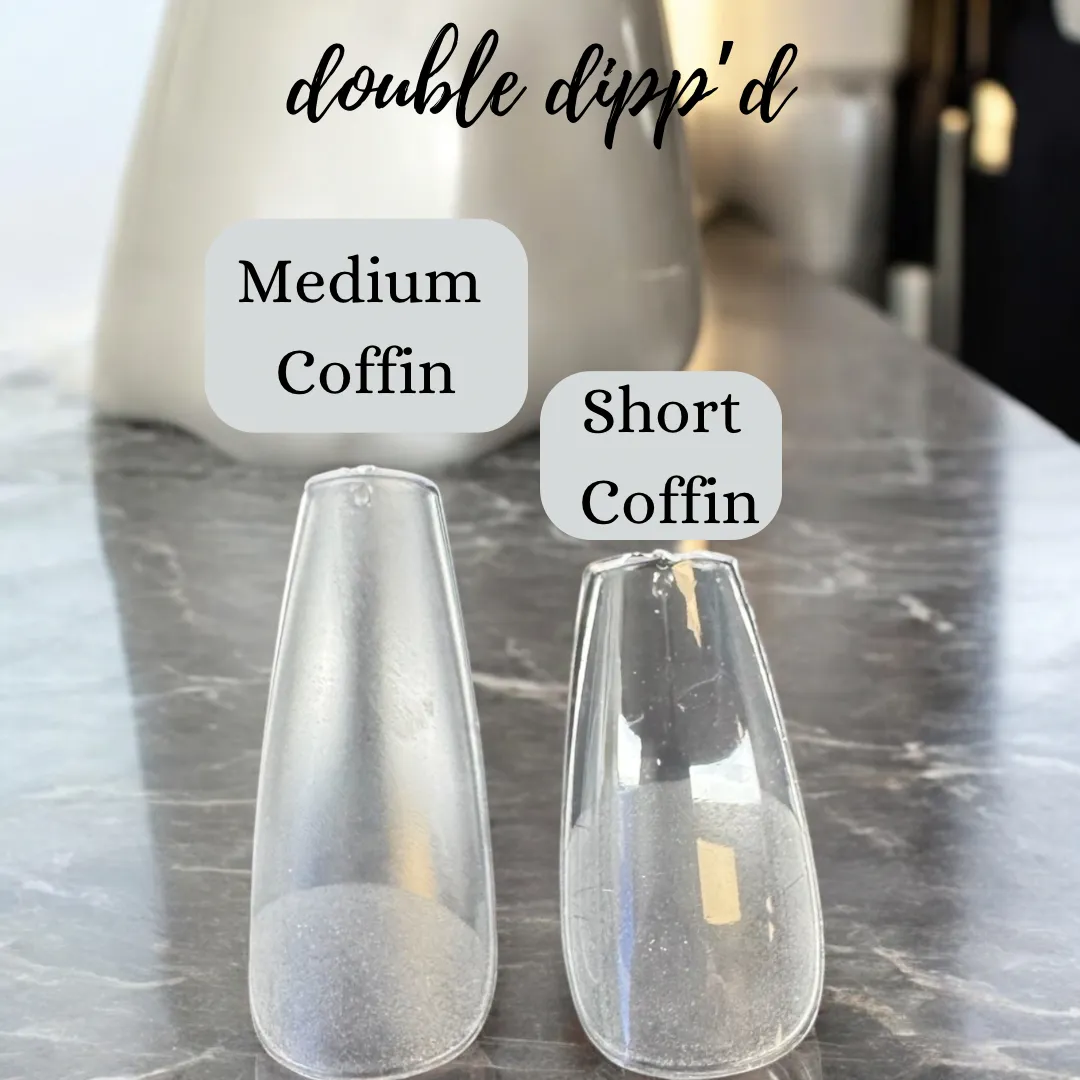
Full Soft Gel Nail Tips are HERE! For the moment, we have these in 4 Styles and one length (Medium Length). We will be adding "short length" in the near future.
OUR SOFT GEL TIPS OFFER:
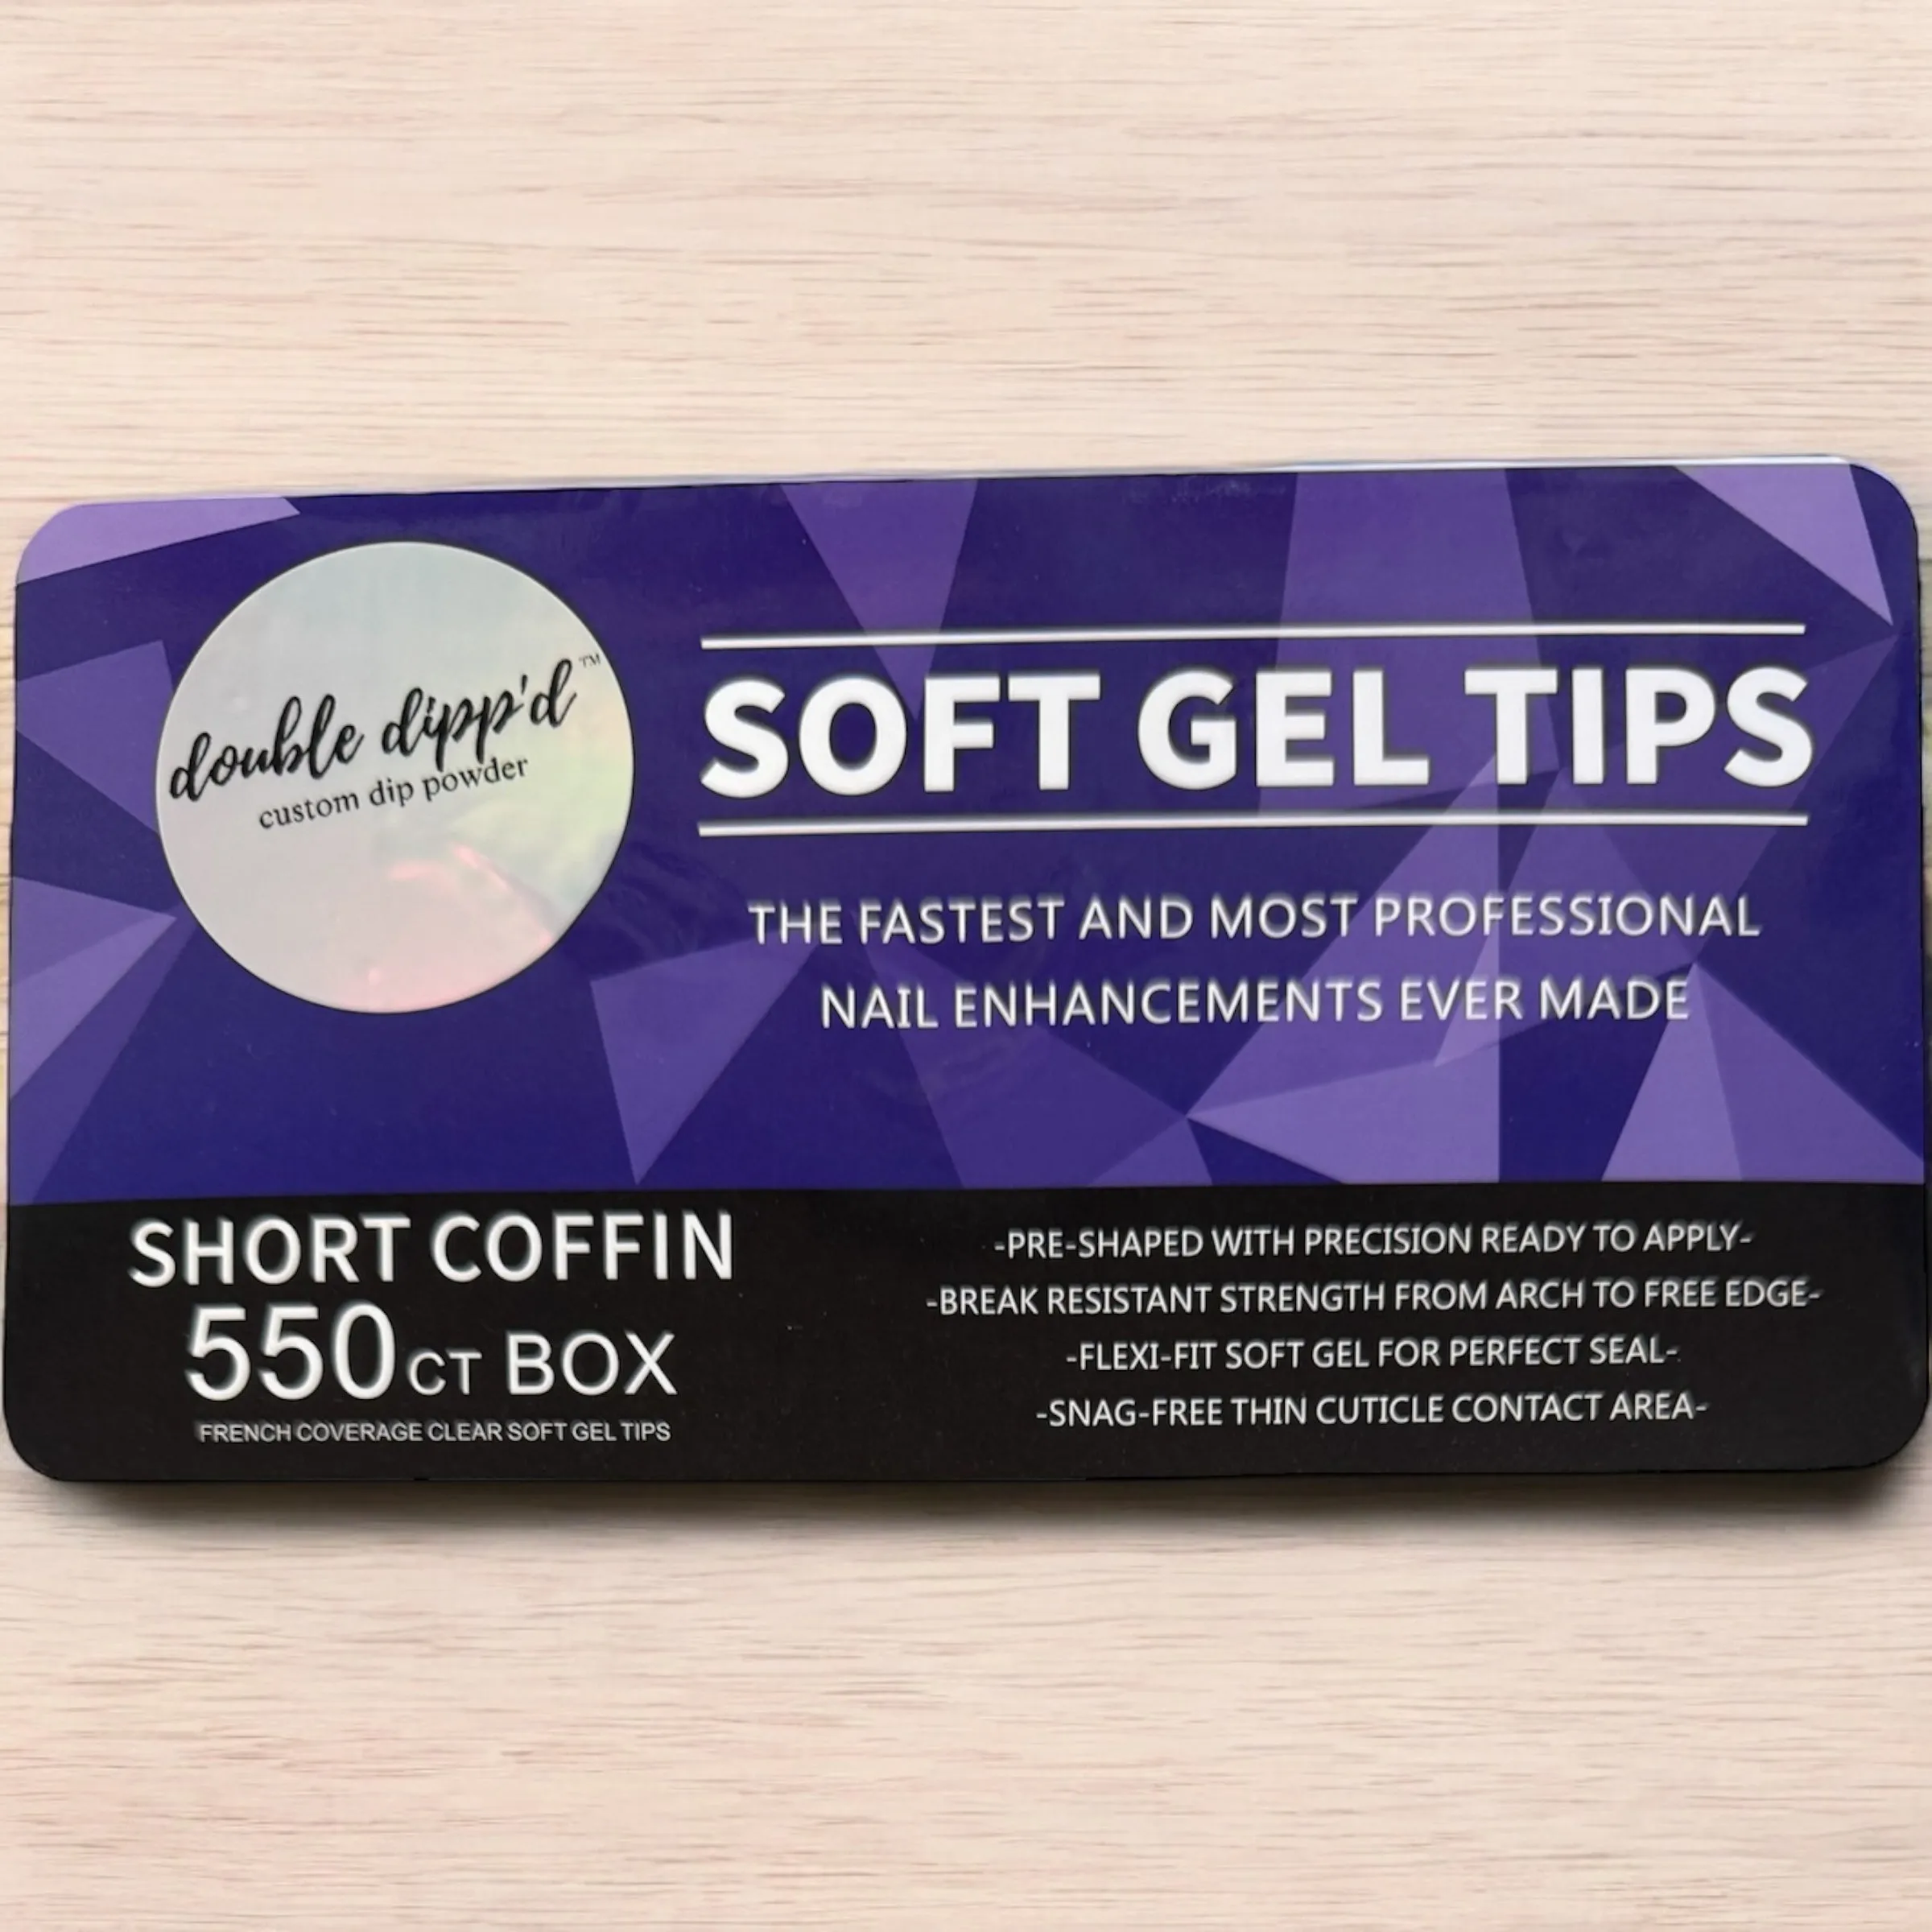
- The fastest and most professional nail enhancements ever made
- Pre-shaped with precision and ready to apply
- Break resistant strength from arch to free edge
- Flexi-fit soft gel for perfect seal
- Snag-free thin cuticle contact area
By using our Non-Sticky Builder Gel or Rubber Base, you can adhere these to your nails quickly and easily. See Steps below.
DIRECTIONS USING NON-STICKY BUILDER GEL
- Choose sizes for all nails from the box. Make sure your choices fit perfectly from the sides of your natural nail.
- Prep your natural nail (dehydrate and push back cuticles). Use our Acid-Free Primer on all your nails.
- Use the Acid-Free Primer to the underside of each Gel Nail Tip where it will lay on your natural nail. (This makes the underside of each Gel Nail Tip sticky for optimum seal).
- Add a coat of Base Gel and cure for 30 seconds in your lamp.
- Take a small amount of Non-Sticky Builder Gel and form into a ball. Press onto the Gel Nail at the cuticle area and spread it out. Take the Gel Nail and start to place it on the natural nail on an angle and press down onto your natural nail spreading the Non-Sticky Builder Gel to the tip of your natural nail forming a tight seal.
- Flip your hand over and smooth out (or remove) any Non Sticky Builder Gel that seeped out from the tip before curing.
- Making sure your Gel Tip contains no air or bubbles underneath, flash cure then fully cure according to the curing instructions (usually 60 seconds in an LED lamp) but longer in a strictly UV lamp.
- Buff and file to shape then add dip or gel as you would normally.
DIRECTIONS USING RUBBER BASE GEL
- Choose sizes for all nails from the box. Make sure your choices fit perfectly from the sides of your natural nail.
- Prep your natural nail (dehydrate and push back cuticles). Use our Acid-Free Primer on all your nails.
- Use the Acid-Free Primer to the underside of each Gel Nail Tip where it will lay on your natural nail. (This makes the underside of each Gel Nail Tip sticky for optimum seal).
- Using Rubber Base Gel, add a thin layer to the underside of your Soft Gel Nail and leave a drop extra on the Gel Nail towards the part that will adhere towards your cuticle.
- Take the Gel Nail and start to place it on the natural nail on an angle pressing down onto your natural nail spreading the Rubber Base Gel to the tip of your natural nail. If you have any excess Gel beyond the tip of your nail, use a brush to remove it before curing.
- Making sure your Gel Tip contains no air or bubbles underneath, hold the gel nail firmly while you flash cure for approx. 30 seconds then it should be set enough to remove your finger and fully cure according to the curing instructions (usually 60 seconds in an LED lamp) but longer in a strictly UV lamp.
- Buff and file to shape then add dip or gel as you would normally.
*Using your Acid Free Primer on the buffed Gel Nail afterwards will seal the nail and ready it for dip or gel products.

")


 Shoelaces")


